

Last week, I showed you my silver and gold Christmas Tree from my dining room and promised to share more this week about how I decorate my trees. So when I started on my Teddy Bear tree in the living room, I tried to take pictures as I went to give you some ideas.
Step 1: Set up the Tree I bought a brand new tree this year. I shopped around a bit because I knew I wanted a prelit tree that had the "sure-light" or "smartlight" technology so that if one bulb went out, the rest of the lights stay lit. And I also knew that I wanted a "quick shape" tree so it wouldn't need as much fluffing as a regular tree. I found this one at Hobby Lobby and it lived up to it's promise. AJ and I got it out of the box and up, lit and ready to start decorating in about 10 minutes.

Step 2: Add Garland Garlands can be anything from strung popcorn or beads to florals. On Pinterest a few months back, I saw where someone had taken apart a grape vine wreath to use it as a garland on a Christmas tree. When I was making fall crafts, I came across two grape vine garlands I bought way back before Roberts Crafts went out of business and I knew exactly what to do with it:

Step 3: Add Fabric After Christmas last year, I bought a couple of rolls of this burlap at Walmart on clearance. I had planned to use it for Valentines but never got around to it.


Then I bunched it back up and attach it to a lower branch like this:

Then I just did a second loop on it like this:

I didn't want to make this a long garland down the tree so I cut it off and then placed five more on the tree. When I'm placing things on my tree, I always try to form triangles with them. That helps with a random but uniform look like this:

Step 5: Add Ribbon Streamers I knew I wanted to put natural burlap on the tree so I found six other ribbons I liked and made two different groupings of ribbons. I wanted to make sure I mixed patterns and solids and textures. I took four of the ribbons, made a loop at the top, and added floral wire like this:


Once I got all the ribbons on, I looked like this:


Here are the other two picks I used:

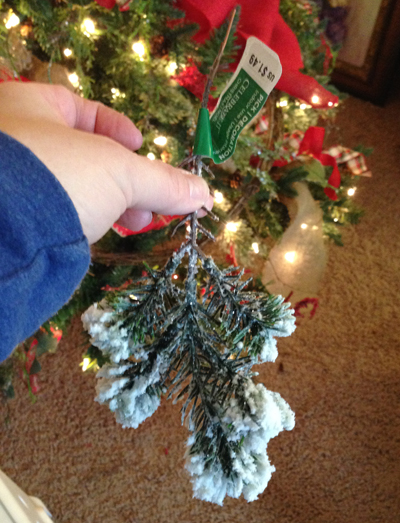
Again, I use the triangle method to place the picks in the tree too. When that was done, it looked like this:


If you prefer video tutorials, the Jennifer Decorates has a good one that inspired the way I do my ribbon streamers and the first pick I used. But remember, there is no right or wrong way to decorate a tree. As long as you love the way your tree looks when you finish it, then that is all that matters.
I still have one more tree to share and of course, I'll continue to share about other Christmas decor projects I have done around my house too.
No comments:
Post a Comment